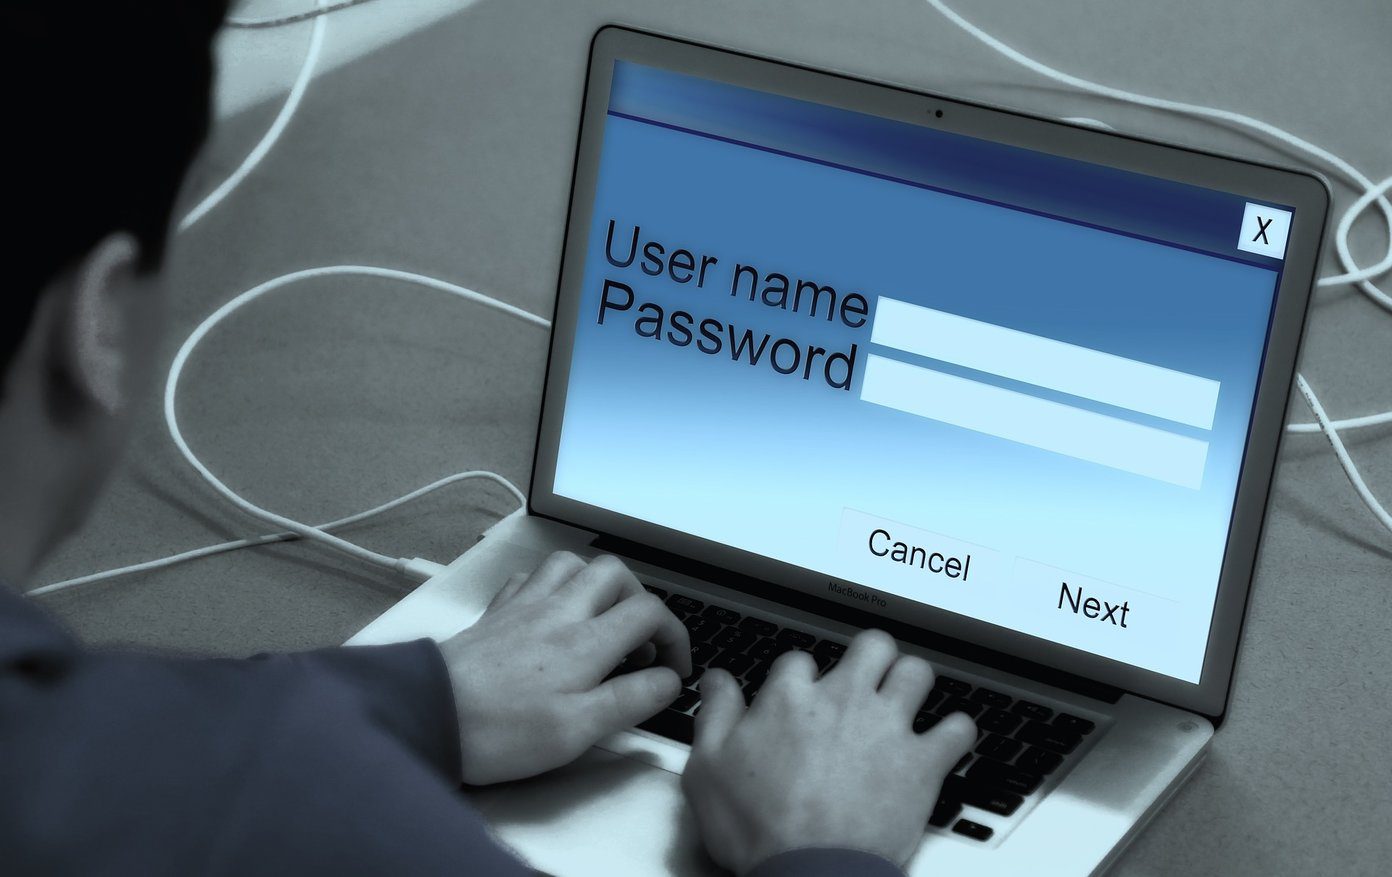
And while Mac users are far less prone to these kinds of attacks, Macs are not completely invulnerable to them. And there is always the possibility of having your Mac stolen, along with all your precious information. So what can you as a Mac user do about this?
Mac Encryption
While OS X is an extremely secure system by default, it also comes equipped with FileVault, a native security feature that encrypts all your important information so that only you can access it. If you are not familiar with the concept, encryption is the process of encoding data to make it unreadable without special knowledge. FileVault is a very powerful tool that lets you protect your data to such a degree that only you can access it even if your Mac is stolen or lost. Even if a spyware or someone else gains access to your Mac, your data will still be safe. On the other hand, though, if you misplace the ‘keys’ to the encrypted data, you risk losing all of it for good, so think very well before setting up encryption on your Mac. With that behind us, let’s take a look at how to set up FileVault on your Mac. Important Note: Before enabling FileVault on your Mac, make sure to back up all your important information. We take no responsibility for any issue that might arise as a result of this process. Step 1: On your Mac open System Preferences and then select the Security & Privacy option. Once there, click on the FileVault tab. Step 2: Next, click on the padlock icon located at the bottom left of the window and authenticate using your Mac credentials. Important Note: You must have an administrator account to implement FileVault on your Mac. Once you have full access to this window, click on the Turn On FileVault button to enable the encryption feature. Once you click on the button, a recovery key will be displayed on the screen. Make sure to write it down somewhere safe and not to misplace it, since you will need it if you ever want to remove FileVault. Note: If you wish, you can also store your recovery key with Apple since OS X will give you the option to do that. Step 3: After you complete these steps, your Mac will restart and begin the initial encryption process. As a precautionary measure, make sure your Mac is plugged into a power source. The process might take some time depending on how much data you have on your Mac, but you can always head to the FileVault pane to check the encryption’s progress.
Secured!
There you go. As mentioned before, only use FileVault if you are completely aware of the benefits and risks of the process. And if you decide to go ahead with it, then enjoy a better and far more secure user experience on your Mac. The above article may contain affiliate links which help support Guiding Tech. However, it does not affect our editorial integrity. The content remains unbiased and authentic.

![]()


