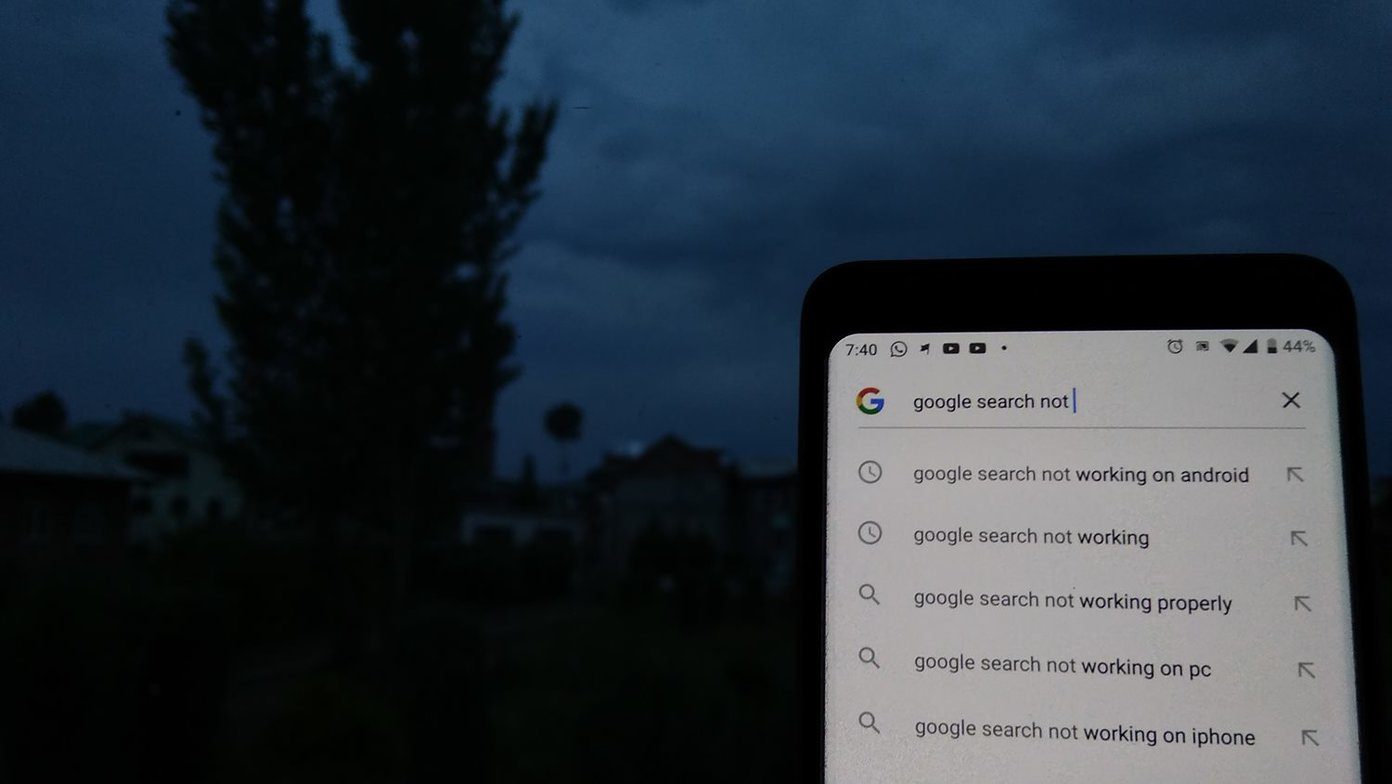
But what if Google stops predicting suddenly? Or what if Google doesn’t autocomplete your requests? Many Chrome users often complain facing the that issue. When they type something to search, they end up staring at the search bar blankly waiting for it to show any suggestions. The autocomplete saves time, and provides us with better search results, which we might struggle to find after a couple of tries. But don’t worry if you are also a victim of this bad luck. In this post, we will tell a few ways to fix Google search autocomplete not working. Let’s get started.
1. Restart Chrome
Simply closing Chrome by hitting the cross button doesn’t fully close Chrome. You need to remove it from the Task Manager for stopping and shutting it down completely. For that, open the Task Manager on your Windows PC by right-clicking on the taskbar. Click on Chrome and hit the End Task button. Then open Chrome again. Hopefully, you will see the search prediction now.
2. Enable Autocomplete
Google provides a dedicated setting for the autocomplete feature. You need to make sure it is turned on. For that, follow these steps: Step 1: Open Chrome on your PC and click on the three-dot icon at the top-right corner. Select Settings from the menu. Step 2: Click on Sync and Google services under People. Step 3: Turn the toggle on present next to Autocomplete searches and URLs.
3. Turn Sync Off
Sometimes, the problem arises when you’re also experiencing Chrome sign-in issues with your Google account. Turning it off and on will refresh the sync and fix search issues too. To turn it off, open Chrome Settings from the three-dot icon. Then click on the Turn off button present next to your name. Restart Chrome and then enable sync again.
4. Clear Cache and Cookies
Clearing cache or cookies in Chrome will not delete your data, passwords, or browsing history. However, it will log you out from the websites whose cookies are stored on your computer. It is an effective way to fix issues with Chrome. To do so, follow these steps: Step 1: Open Chrome Settings using the three-dot icon. Step 2: In the Settings, scroll down and click on Advanced. Step 3: Under Privacy and security, click on Clear browsing data. Step 4: Select ‘Cookies and other site data’ and ‘Cache images and files’ options. Then hit the Clear data button. Step 5: Restart Chrome, as mentioned above.
5. Check Search Engine
Sometimes, Chrome’s search engine gets changed from Google to something else, and that’s why the predictions stop working in the address bar. You need to ensure that the search engine is set to Google. For that, follow these steps: Step 1: Open Chrome Settings from the three-dot icon at the top. Step 2: Under the Search engine heading, verify Google is set as the ‘Search engine used in the address bar’. If it’s set to something else, change it to Google. However, if it shows as Google only, then click on Manage search engines. Step 3: Under the Manage search engines page, check the keyword next to Google (Default). It should be google.com. To change it, click on the three-dot icon next to Google and hit Edit.
6. Use Flag
If the above methods don’t work, take the help of the Chrome flag. You need to disable and enable the tail suggestions flag. For that, copy this link chrome://flags/#omnibox-tail-suggestions and paste in the address bar of Chrome. Hit the Enter key. The flags page will open with the tail flag highlighted. Click on the box next to it and change to Disabled. Restart Chrome and then enable it again by following the same steps.
7. Disable Extensions
Before we proceed, you need to identify whether the Chrome extensions are the cause of the problem or not. For that, open the incognito tab (Ctrl+Shift+N shortcut) in Chrome. Try searching for something. Are you facing the same issue here too? If autocomplete works fine in the incognito mode, then an extension could be responsible. You need to disable all the Chrome extensions and enable them one at a time to find the culprit. To do so, type chrome://extensions/ in the address bar of Chrome and hit Enter. Here disable all of them using the toggle and enable one by one. Once you have found the culprit, keep the extension disabled or check its settings to verify that everything is right and nothing is messing up with Google search.
8. Reset Chrome Settings
Restoring Chrome to default settings will change the default search engine, homepage, new tab page, pinned tabs, content settings, and cookies. The extensions will also be disabled. However, your data including bookmarks, history, and saved passwords will remain intact. Here’s how to reset Chrome to default settings: Step 1: Open the Chrome Settings and click on Advanced. Step 2: Scroll down and click on Restore settings to their original default. A pop-up will appear asking you to confirm the decision. Click on Reset settings. Step 3: Once settings have been reset, restart Chrome as shown above.
Google, Autocomplete for Me
The autocomplete feature is such a savior for keystrokes and also time. It comes in handy while looking for particular information without trying to explain (type) the entire query. Hopefully, your search woes would have been over by the end of the post. Did you discover another fix that we should include to the list above? Do let us know in the comments below. Next up: Is Google Chrome on your computer opening old tabs every time you launch it? Follow our useful guide to stop Chrome from loading old tabs at launch. The above article may contain affiliate links which help support Guiding Tech. However, it does not affect our editorial integrity. The content remains unbiased and authentic.


