Many third-party photo editing apps promise more features, but most of them are paid or come with a subscription. Meanwhile, the Photos app is good enough for basic editing needs on Mac and makes share-worthy pictures. Here is how to edit pictures using the Photos App on Mac.
Quick Edit With Auto Enhance
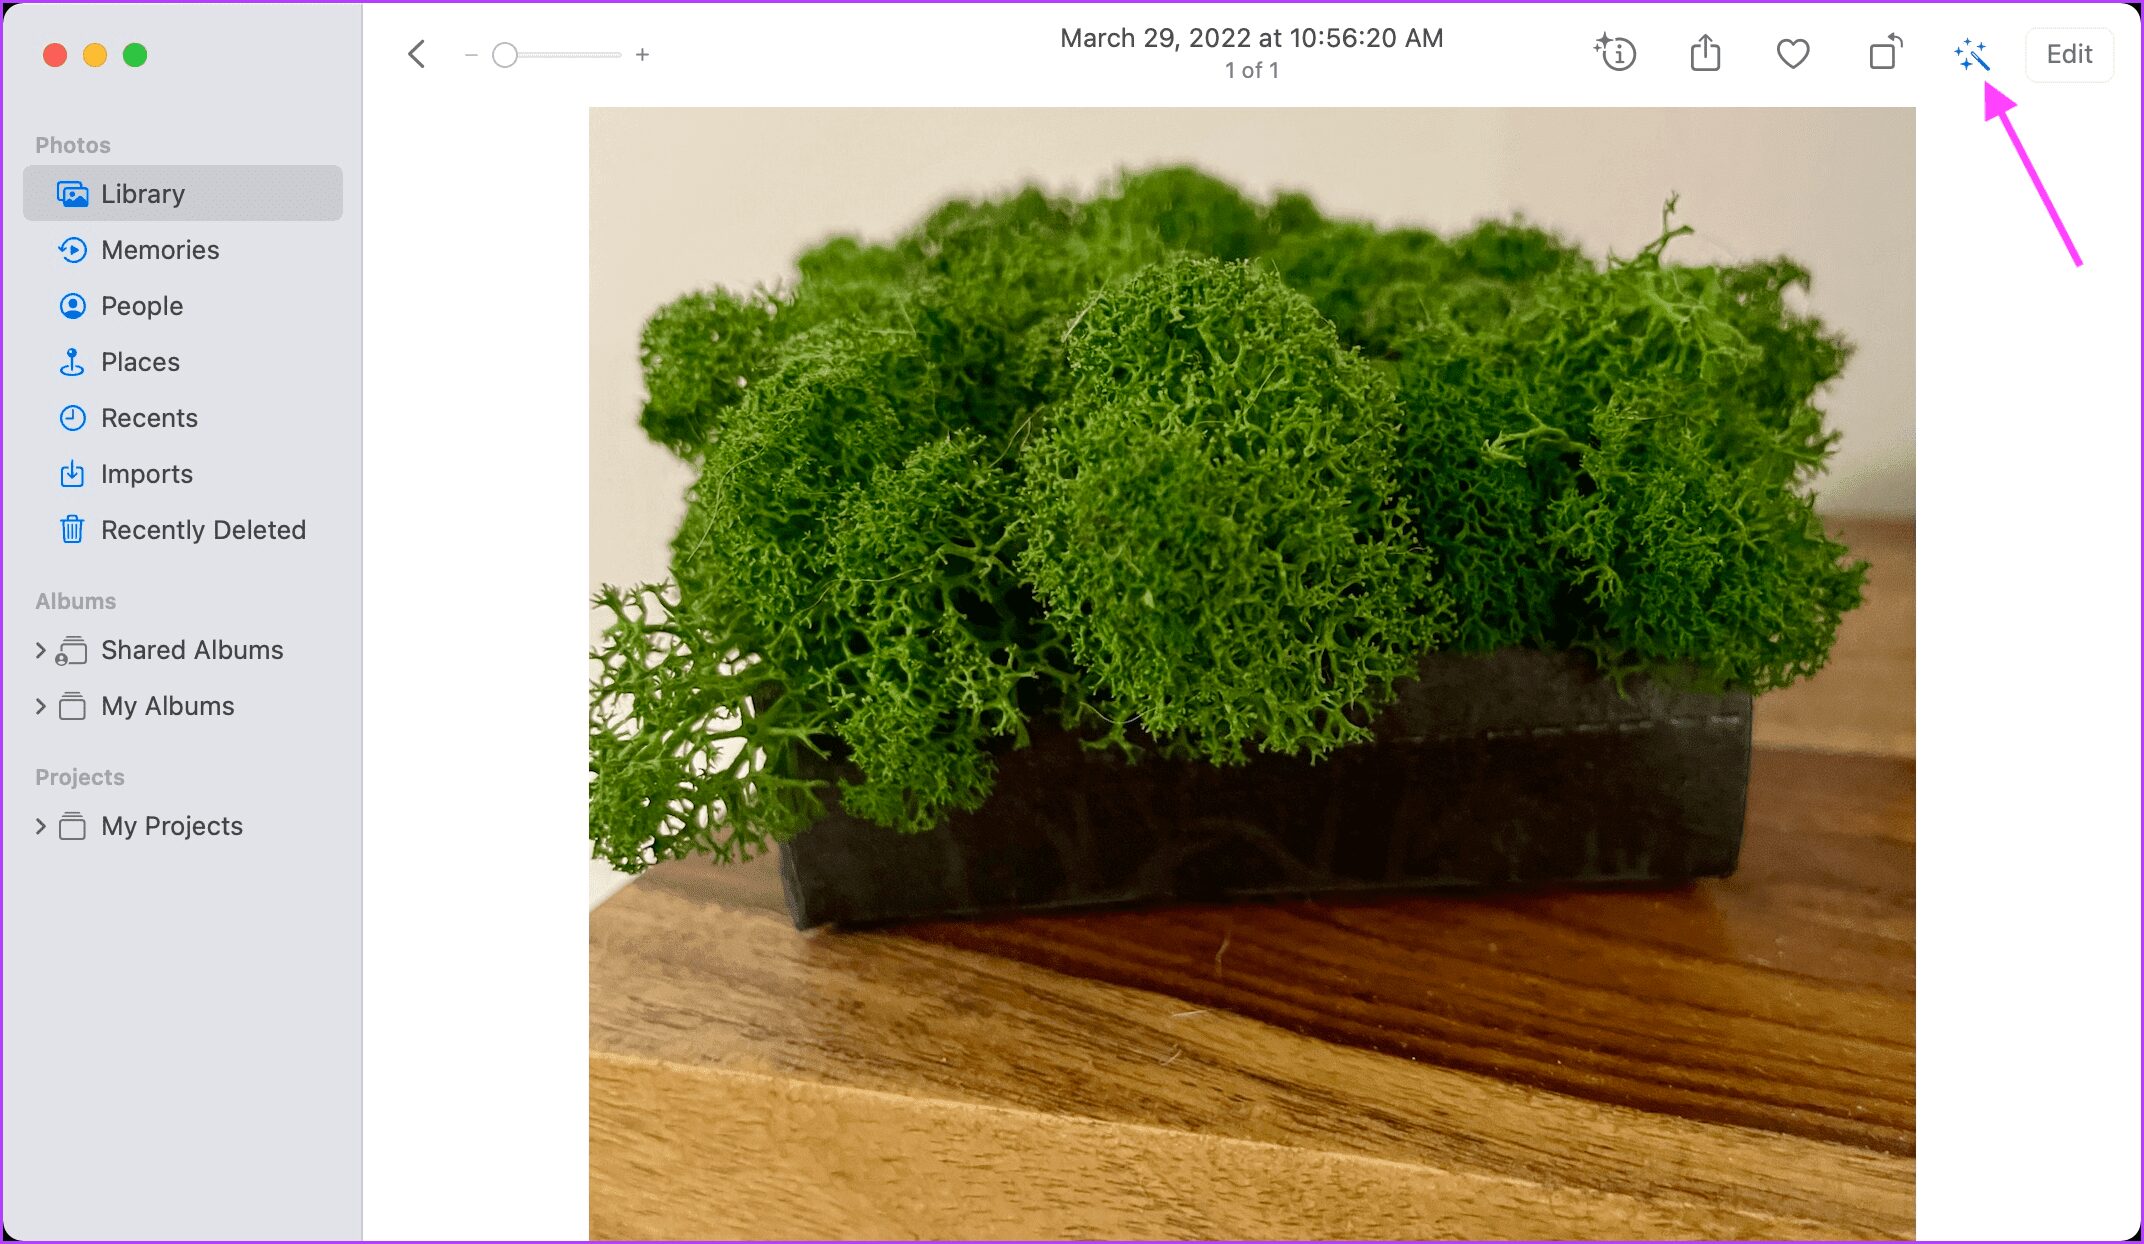
The Photos app comes with an Auto Enhance tool that automatically adjusts the color and contrast of your pictures to make them look more vibrant. If you are in a hurry, you can use this tool to quickly enhance your images before sharing them. Step 1: Launch the Photos app and double-click on the photo you want to edit.
Step 2: Click on the Auto Enhance button in the top-right corner. The button looks like a magic wand.
Step 3: Clicking the Auto Enhance button will apply all the changes. If you are not happy with the results, click on the Auto Enhance button again to rollback the changes.
Crop, Rotate, Straighten, and Flip Photos
Photos app will easily let you fix the orientation of a photo or crop a part of it. Here’s how to do it. Step 1: Double-click on the photo you want to edit in the Photos app.
Step 2: Click on the Rotate button in the top-right corner to rotate the image counterclockwise. Hold Option on the keyboard to rotate clockwise.
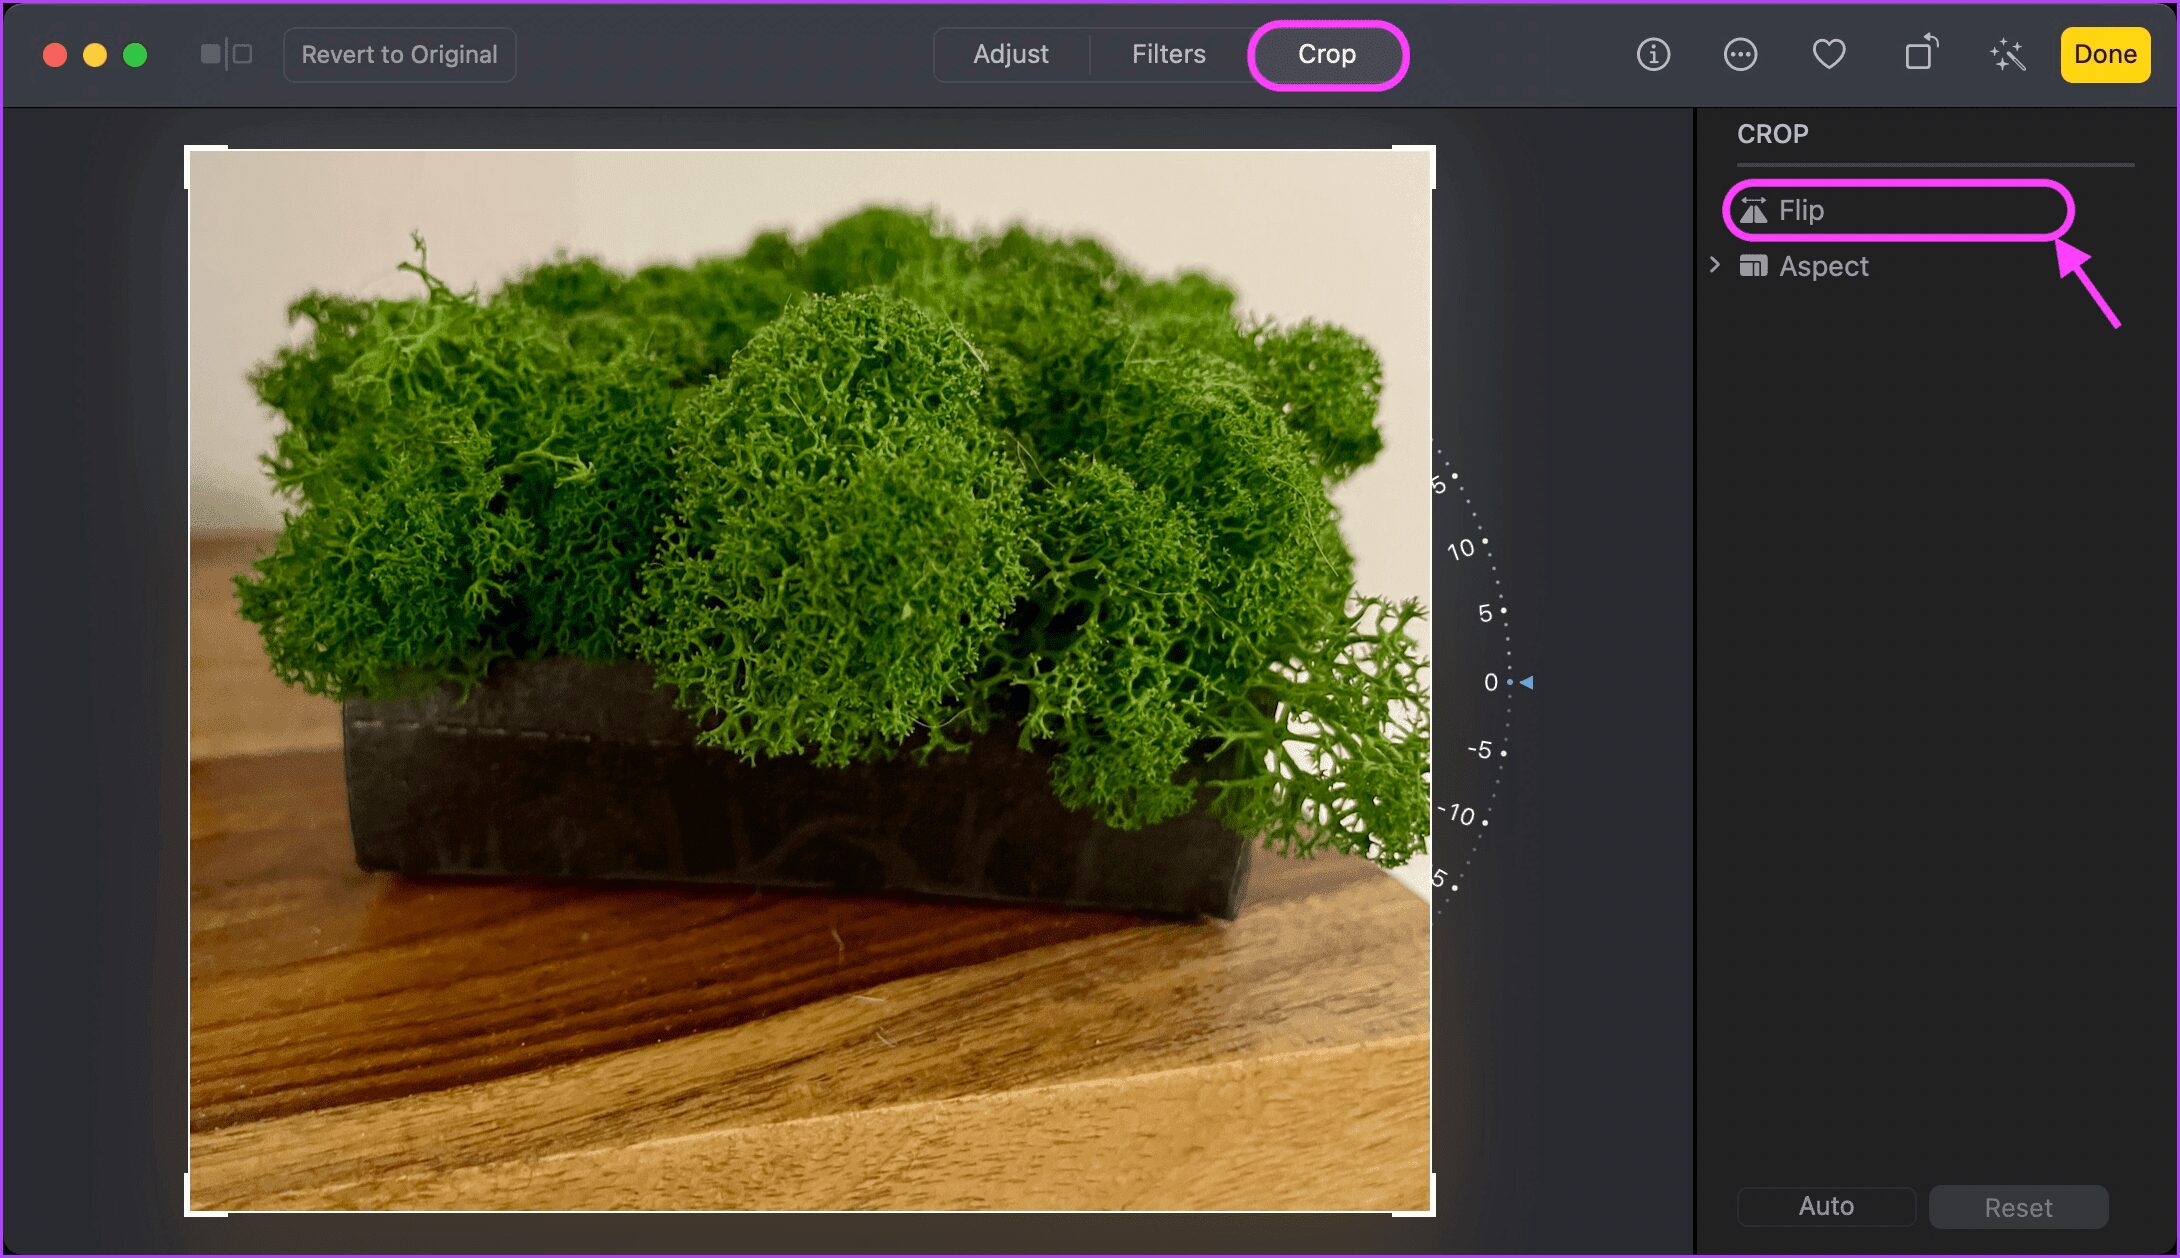
Step 3: To straighten, crop, or flip images, first click on the Edit button.
Step 4: Select the Crop tool from the top of the screen and click on the Flip button in the right-hand column to flip the image horizontally. To flip an image vertically, hold Option on the keyboard and click on the Flip button.
Step 5: Click and drag on the Straighten tool to adjust the angle of the picture.
Step 6: To crop an image, first click on the Aspect drop-down menu. You can select whether you want to crop the image in free-form or with a defined aspect ratio. For example, choosing the Square aspect ratio is best for images you plan to share on Instagram.
Step 7: Once you have selected the aspect ratio, click and drag on the corners.
Step 8: Click on the Done button when you are happy with the result.
Use Filters for Enhancing Your Pictures
The Photos app comes with built-in filters that let you quickly enhance your image. You can use filters to make the colors richer, subdued, and even use Mono or Noir filters to give your pictures an artistic feel. Step 1: Launch the Photos app and double-click on the image you want to edit.
Step 2: Click on the Edit button.
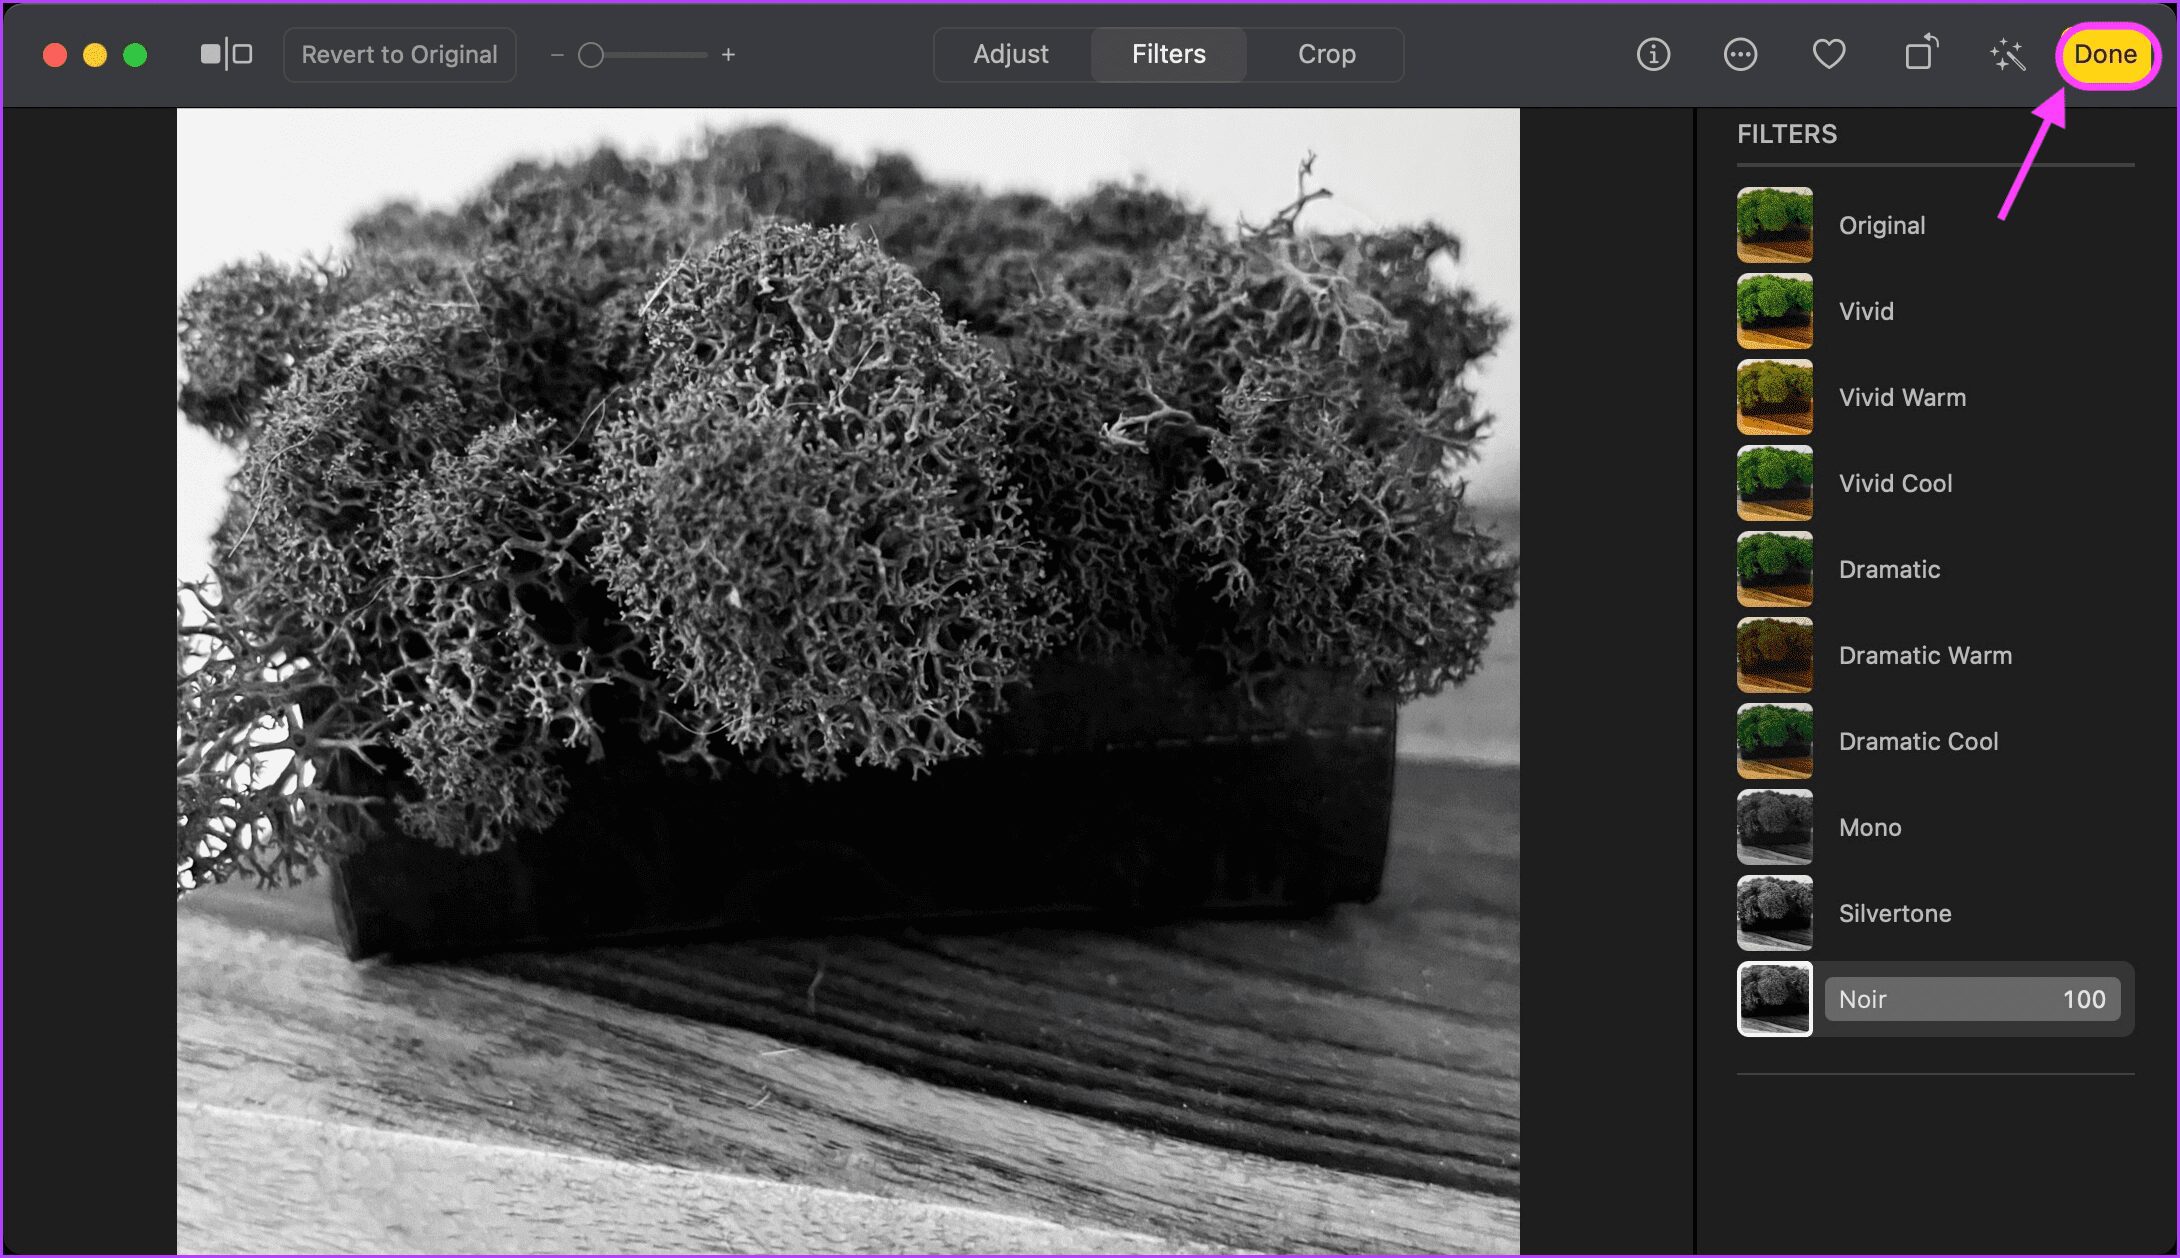
Step 3: Select the Filters tab, and you will see a list of filters. Click on the filters to apply them.
Step 4: When you are happy with the image, click on Done to save the changes.
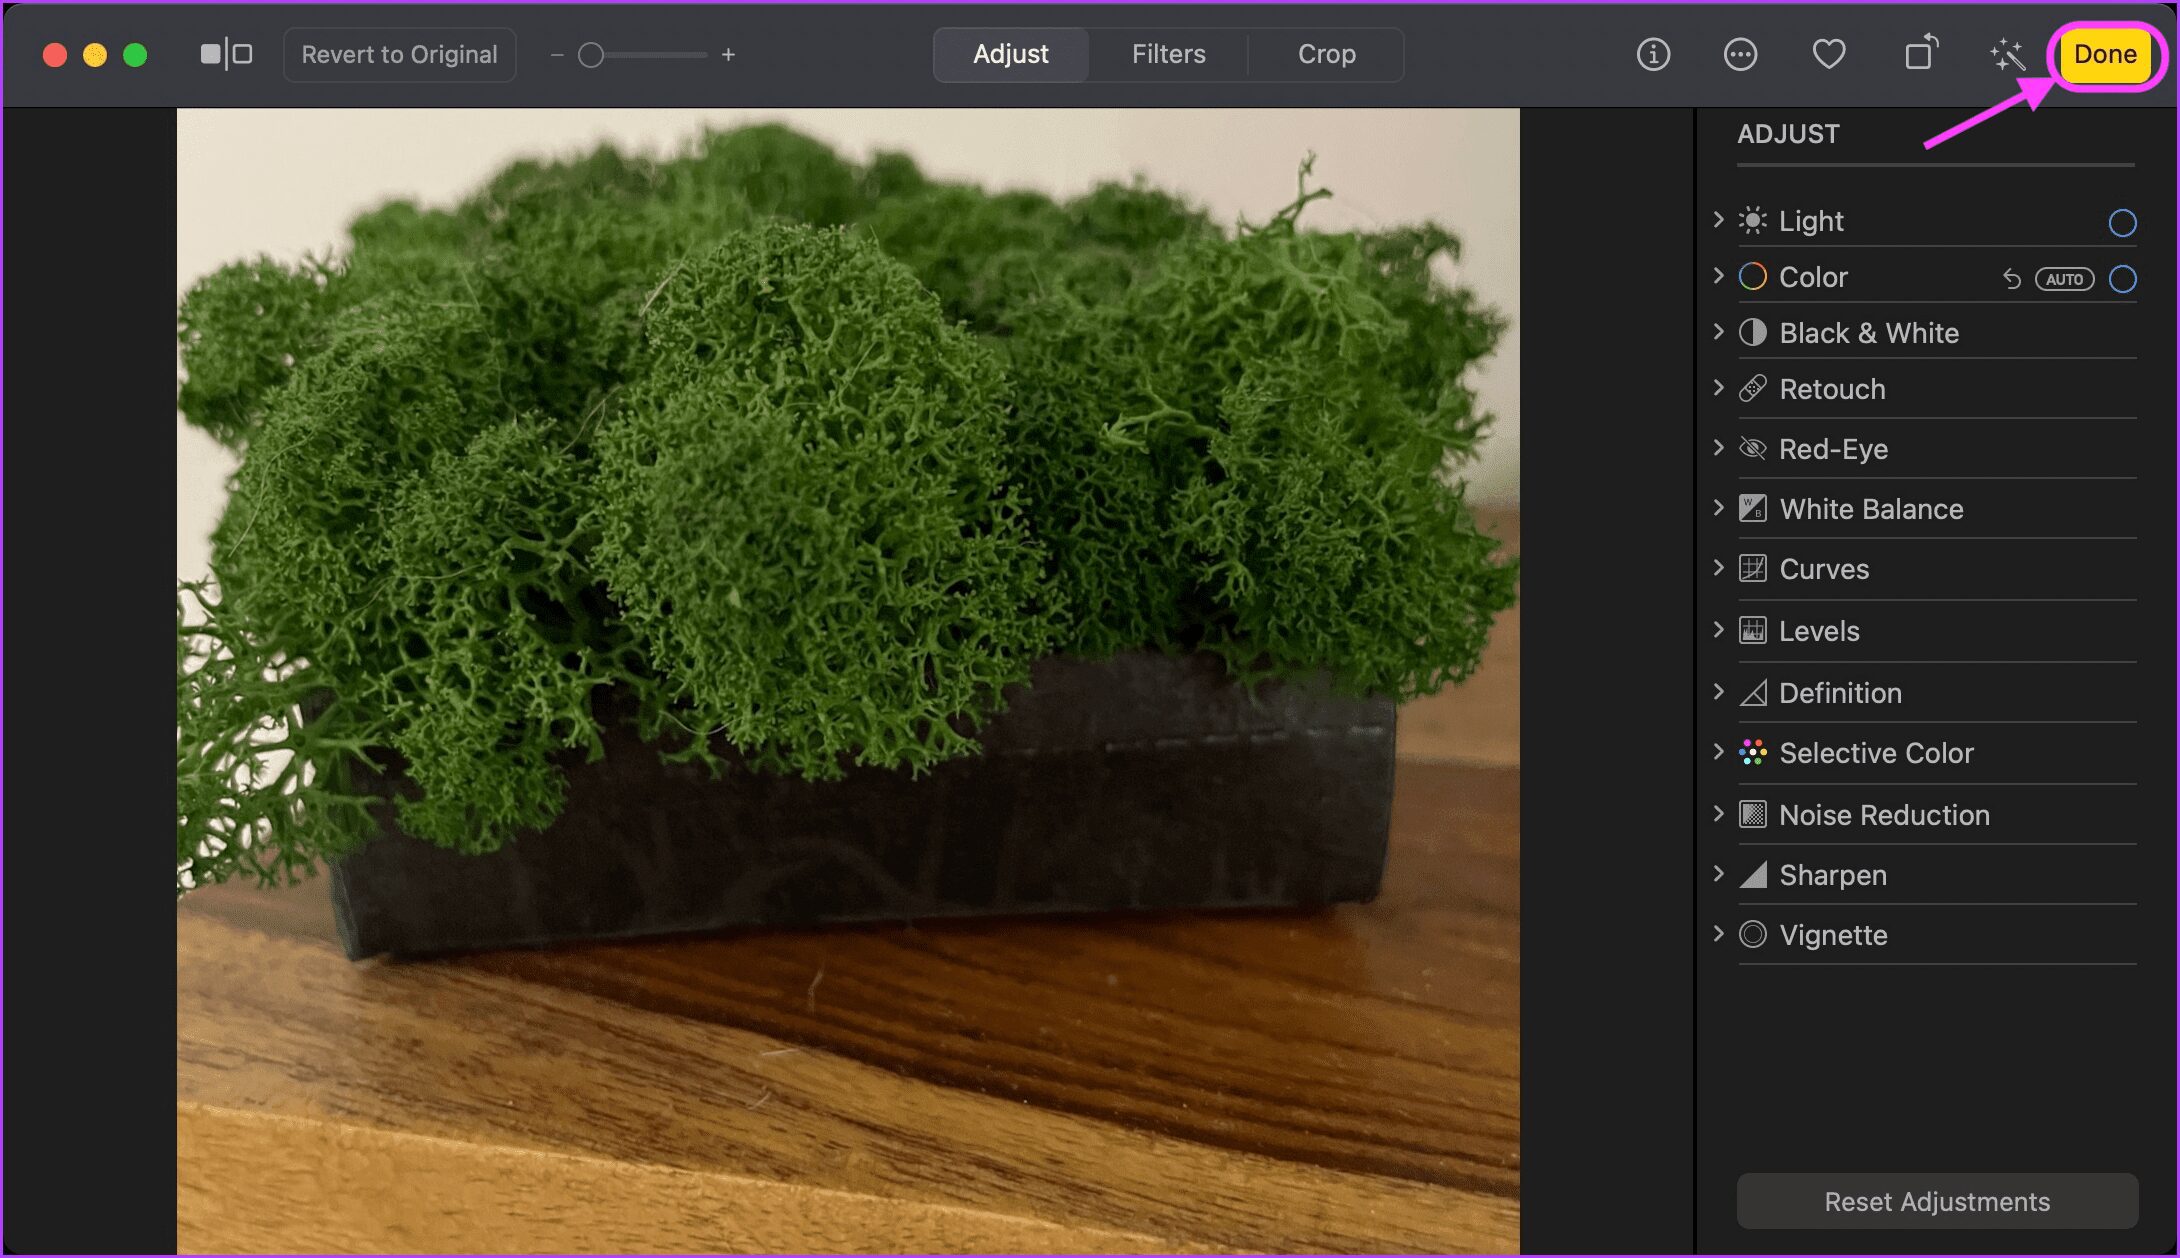
Adjust Color and White Balance, Reduce Noise, and More
The Adjust panel in the editing dashboard gives you access to a selection of retouching tools that let you do things like adjusting lighting and exposure, reducing noise, sharpening, and more. First, let’s see how you can access these tools: Step 1: Launch the Photos app and double-click on the image you want to edit.
Step 2: Click on the Edit button.
Step 3: Select the Adjust tab, and you will see all the tools you need.
Step 4: After you make your adjustments, click on the Done button to save changes.
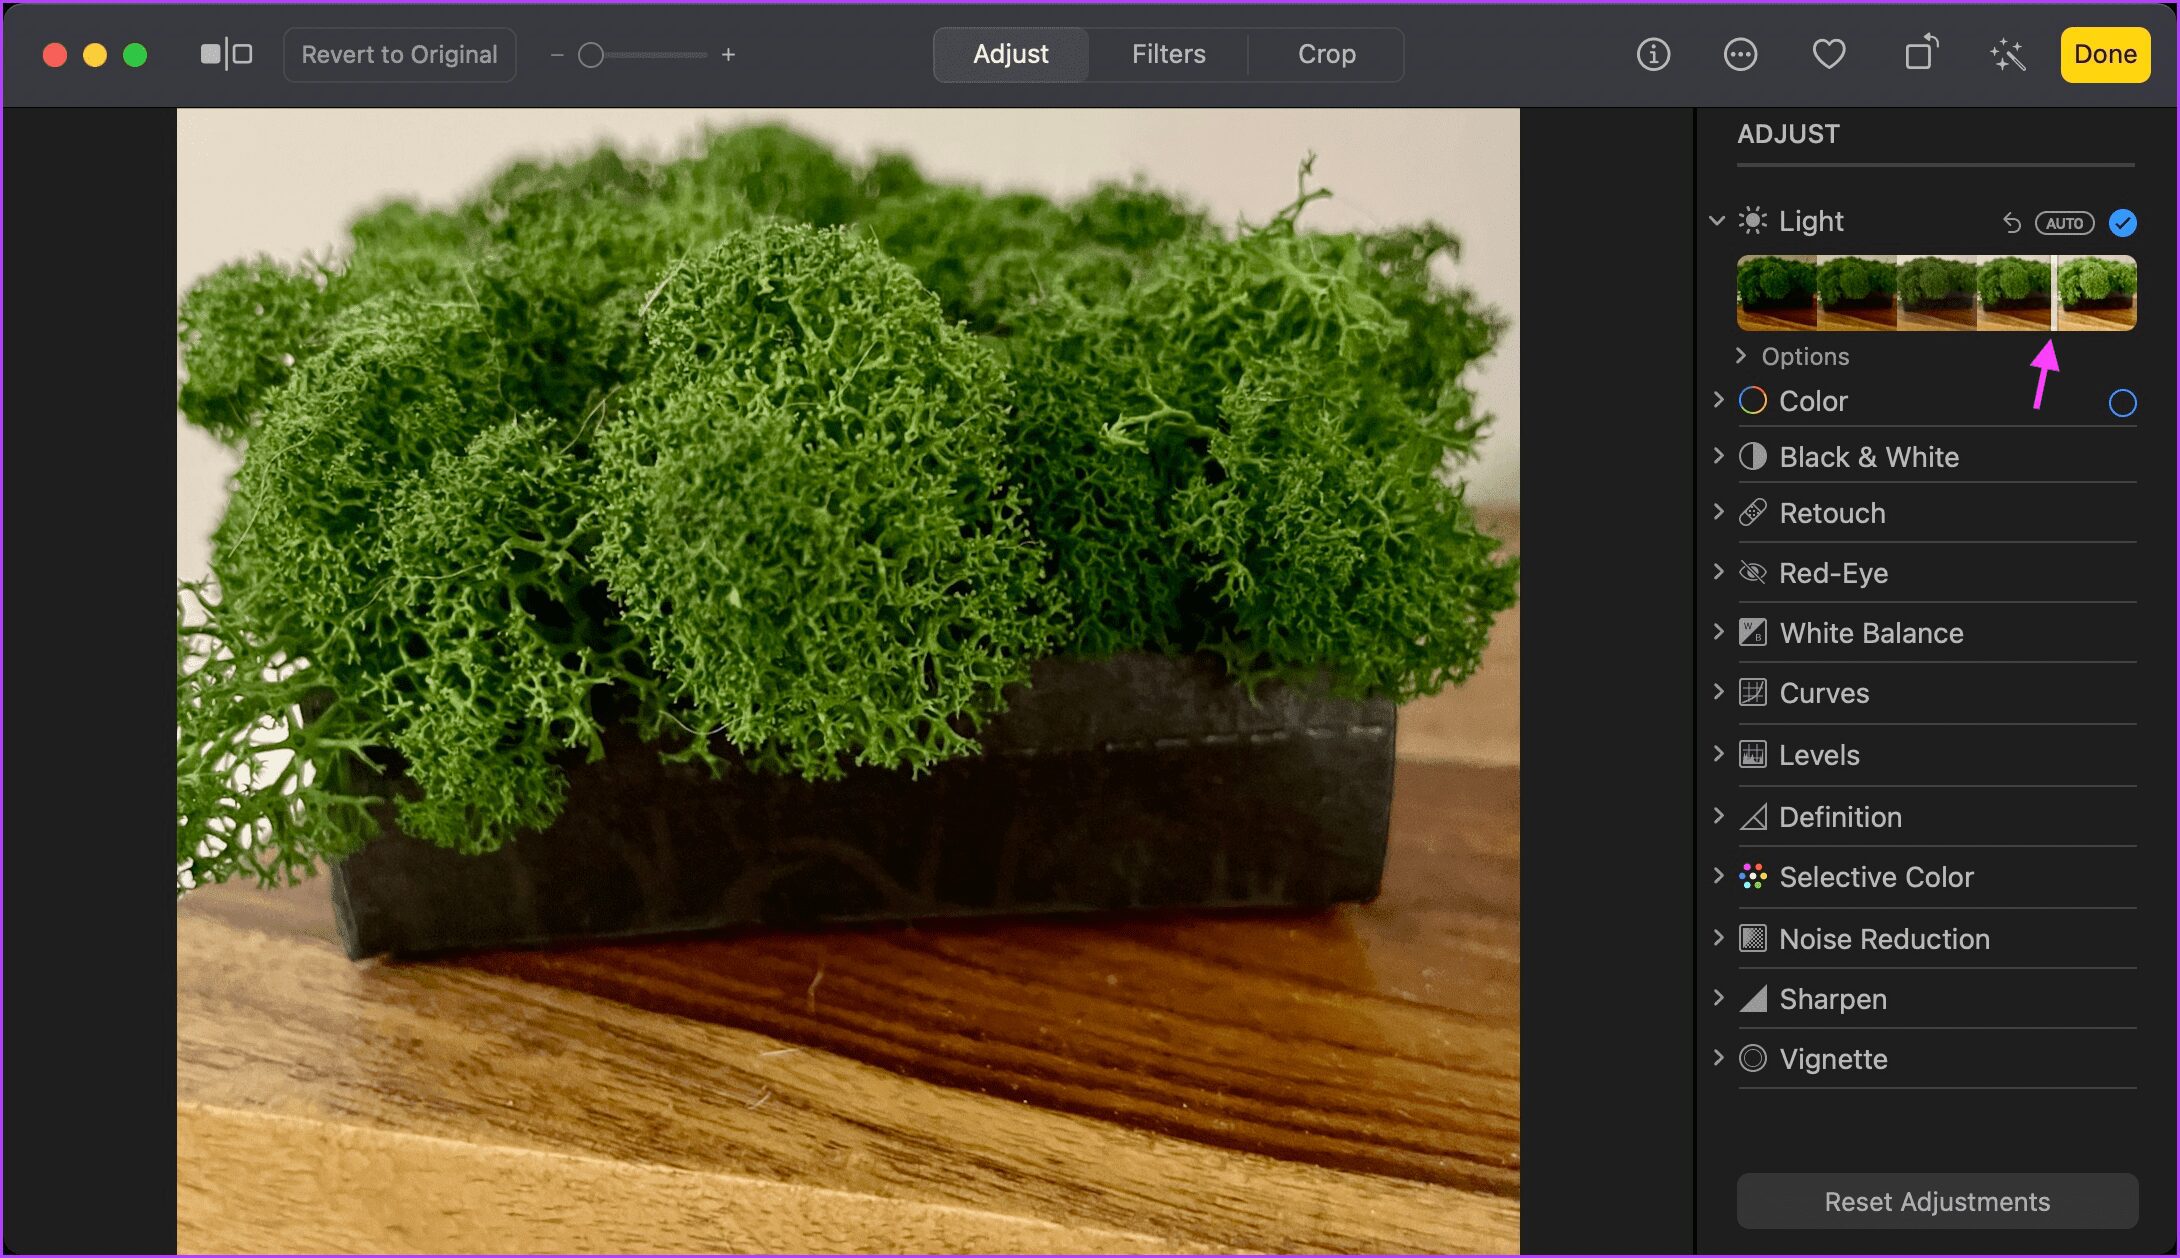
Adjust Lighting and Exposure
Adjusting the lighting and exposure of a picture will help you manage the brightness, highlights, and shadows. Step 1: Open the image in the Photos app on your Mac. Step 2: On the right-side column, hover the mouse pointer over the Light tool and click on Auto to automatically adjust the lighting and exposure.
Step 3: To manually set the lighting of your photo, click on the drop-down arrow next to Light option and drag the slider.
Step 4: To get even finer control, click on the Options button. You will get individual tools to adjust brilliance, exposure, highlights, shadows, and more.
Use Color Corrections
You can use the Color tool to adjust the colors in your pictures. You can make them more subdued or make them pop. Step 1: Open the image you want to adjust in the Photos app on Mac. Step 2: From the right-side column, hover the mouse pointer over the Color option. Then, click on Auto to apply color corrections to the picture.
Step 3: To manually adjust the colors, click on the drop-down arrow in the front of Color option in the right-side column and drag the slider to right to make them brighter or left to subdue the colors.
Step 4: For finer control of color tone, click on the Options button under Color section. That’ll offer you three more options – saturation, vibration, and cast.
Use the Retouch Tool to Remove Unwanted Objects
To remove unwanted objects from pictures, you can use the Retouch tool. It’s not perfect, but it can help you remove minor imperfections. Step 1: Open the image you wanted edit in the Photos app. Step 2: Click on the Retouch tool to show options.
Step 3: Here, drag on the slider to adjust the size of your brush.
Step 4: Click and drag over the part of the image you want to remove. For example, let’s try removing the extra strand of grass in the photo we are using.
Here’s how the image looks removing minor imperfection.
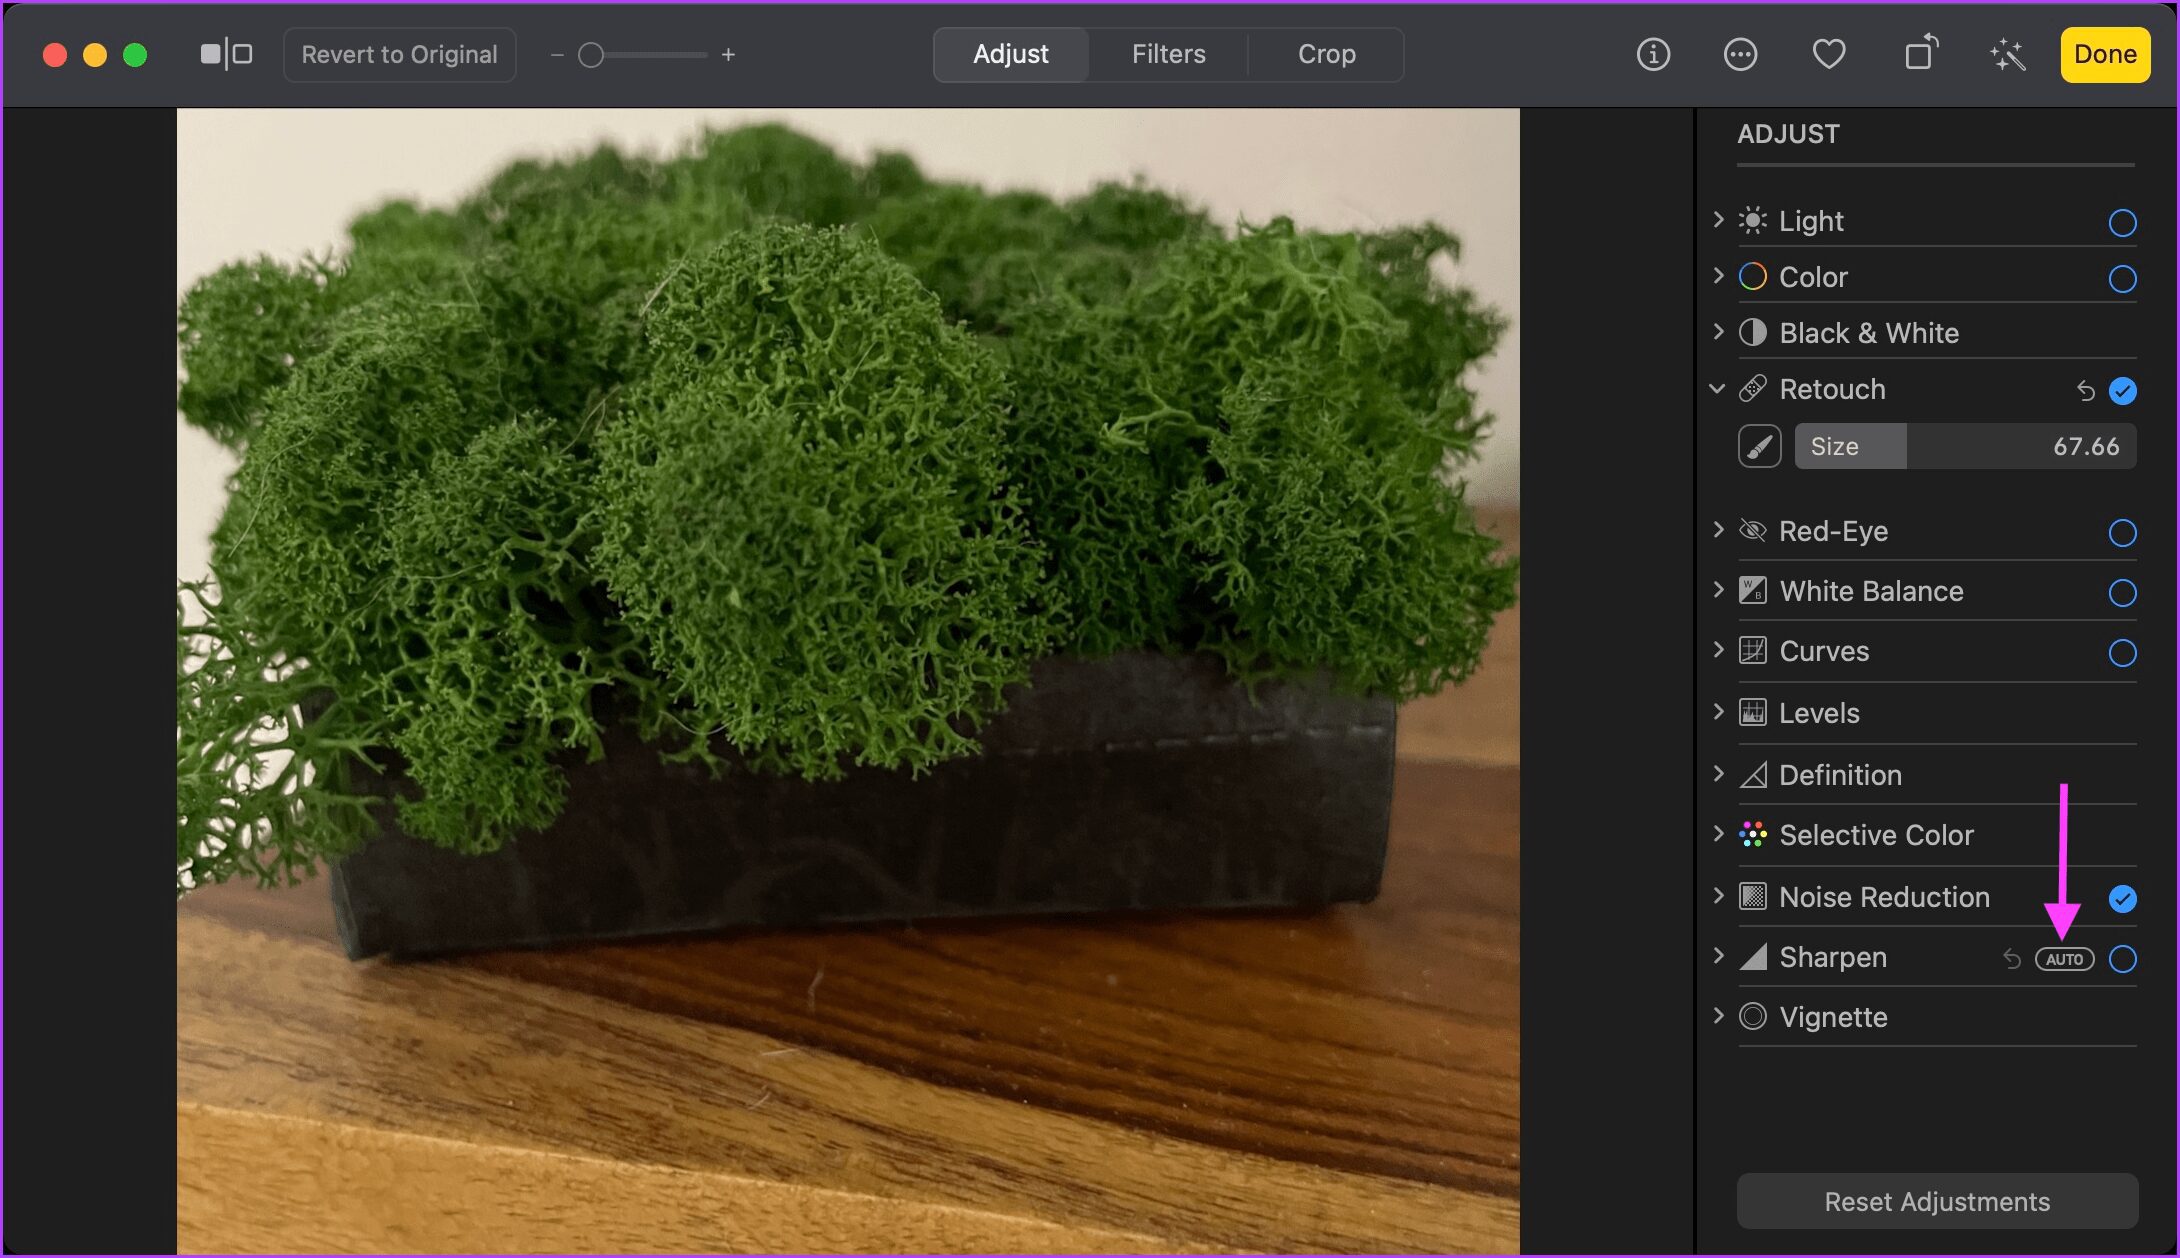
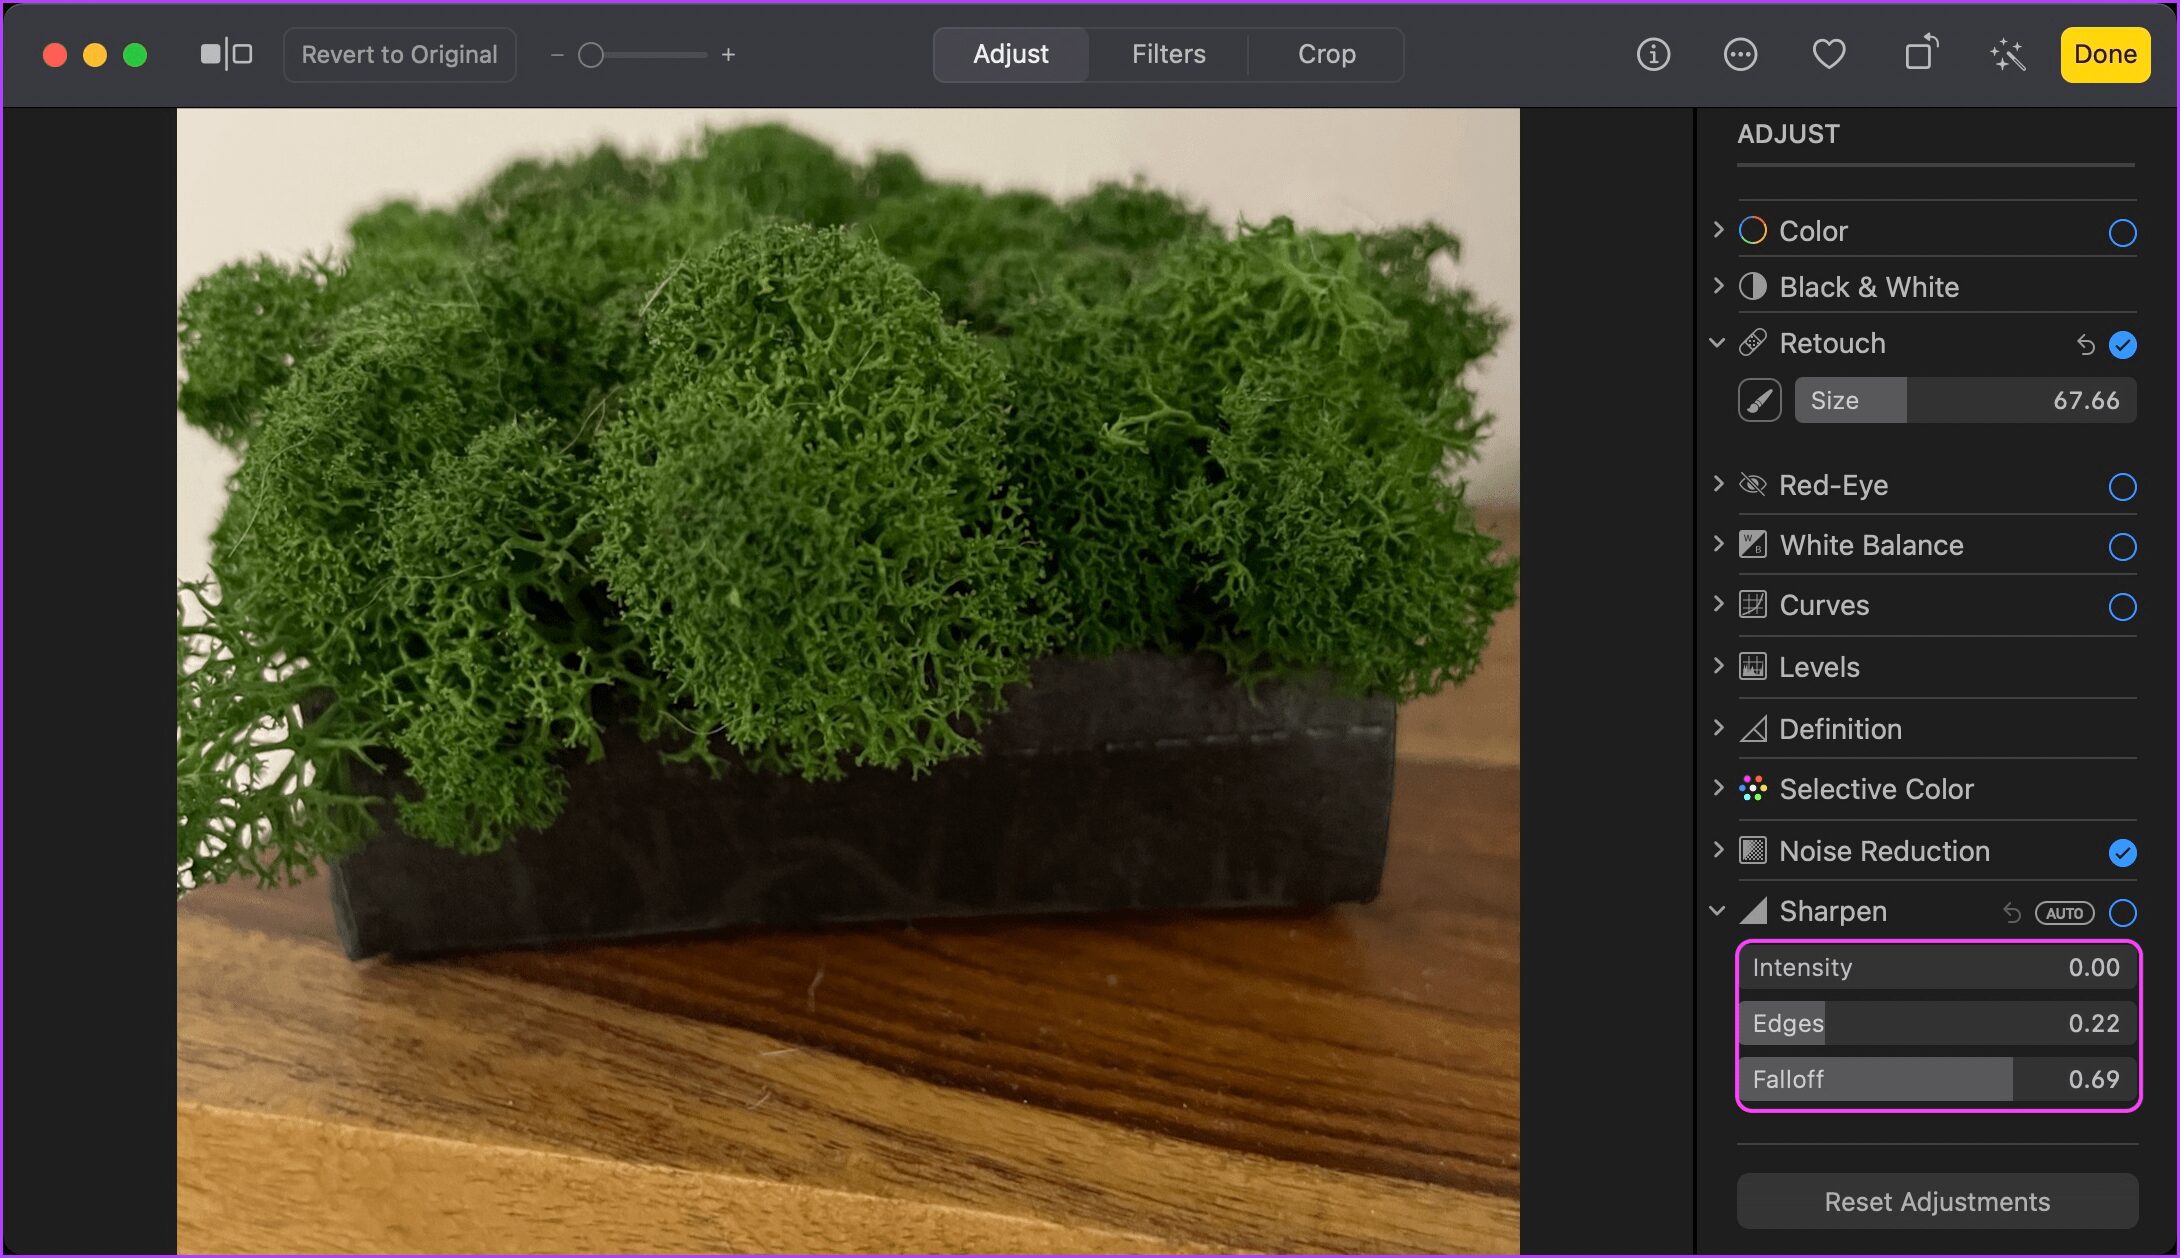
Reduce Noise and Sharpen the Images
If you shot a picture in a low-light environment, it will tend to be grainy, and the subject might not be clear. To make things bit clearer, you can use the Reduce Noise and Shapes tools to remove noise and sharpen your photo. Step 1: Open the image you want to edit in the Photos app. Step 2: Hover over the Noise Reduction tool in the left-side column and click on Auto to let the app automatically reduce the noise.
Step 3: Click on the tool to show more options. Click and drag on the slider to adjust how much processing you want.
Remember pushing the slider to the extreme is not always a good idea as it will mess up the image in other ways. Step 4: Similarly, hover over the Sharpen tool and click on Auto to let the app automatically adjust the sharpness.
Step 5: You can click on the tool to reveal more options. You can adjust the Intensity, Edges, and Fall off parameters. Play with the sliders and see what gets you the best results.
Photos App Is Powerful Enough
As you can see, the built-in Photos app has become a capable image editor make the basic adjustments. It’s still powerful enough to tweak and adjust images stored on your Mac. The above article may contain affiliate links which help support Guiding Tech. However, it does not affect our editorial integrity. The content remains unbiased and authentic.